Making Dreamcatchers

We’ve been making Dreamcatchers this week after Eva made one last week at forest school. Her’s broke as she decided to bring it home unfinished so we decided to make our own. We’ve been trying to find fun crafty activities for days at home including learning Origami which was great fun and making dreamcatchers sounded like a fun idea.

Dreamcatchers are simple to make & can be made using a range of materials. We had wire from previous crafts which we used for our hoop. We also used wool from my stash & some beads.

Making Dreamcatchers

1. We taped our hoop together using duct tape to make sure it was secure. 

2. Next we wound the wool around the hoop until it was covered, leaving a metre or 2 of wool for the next step.

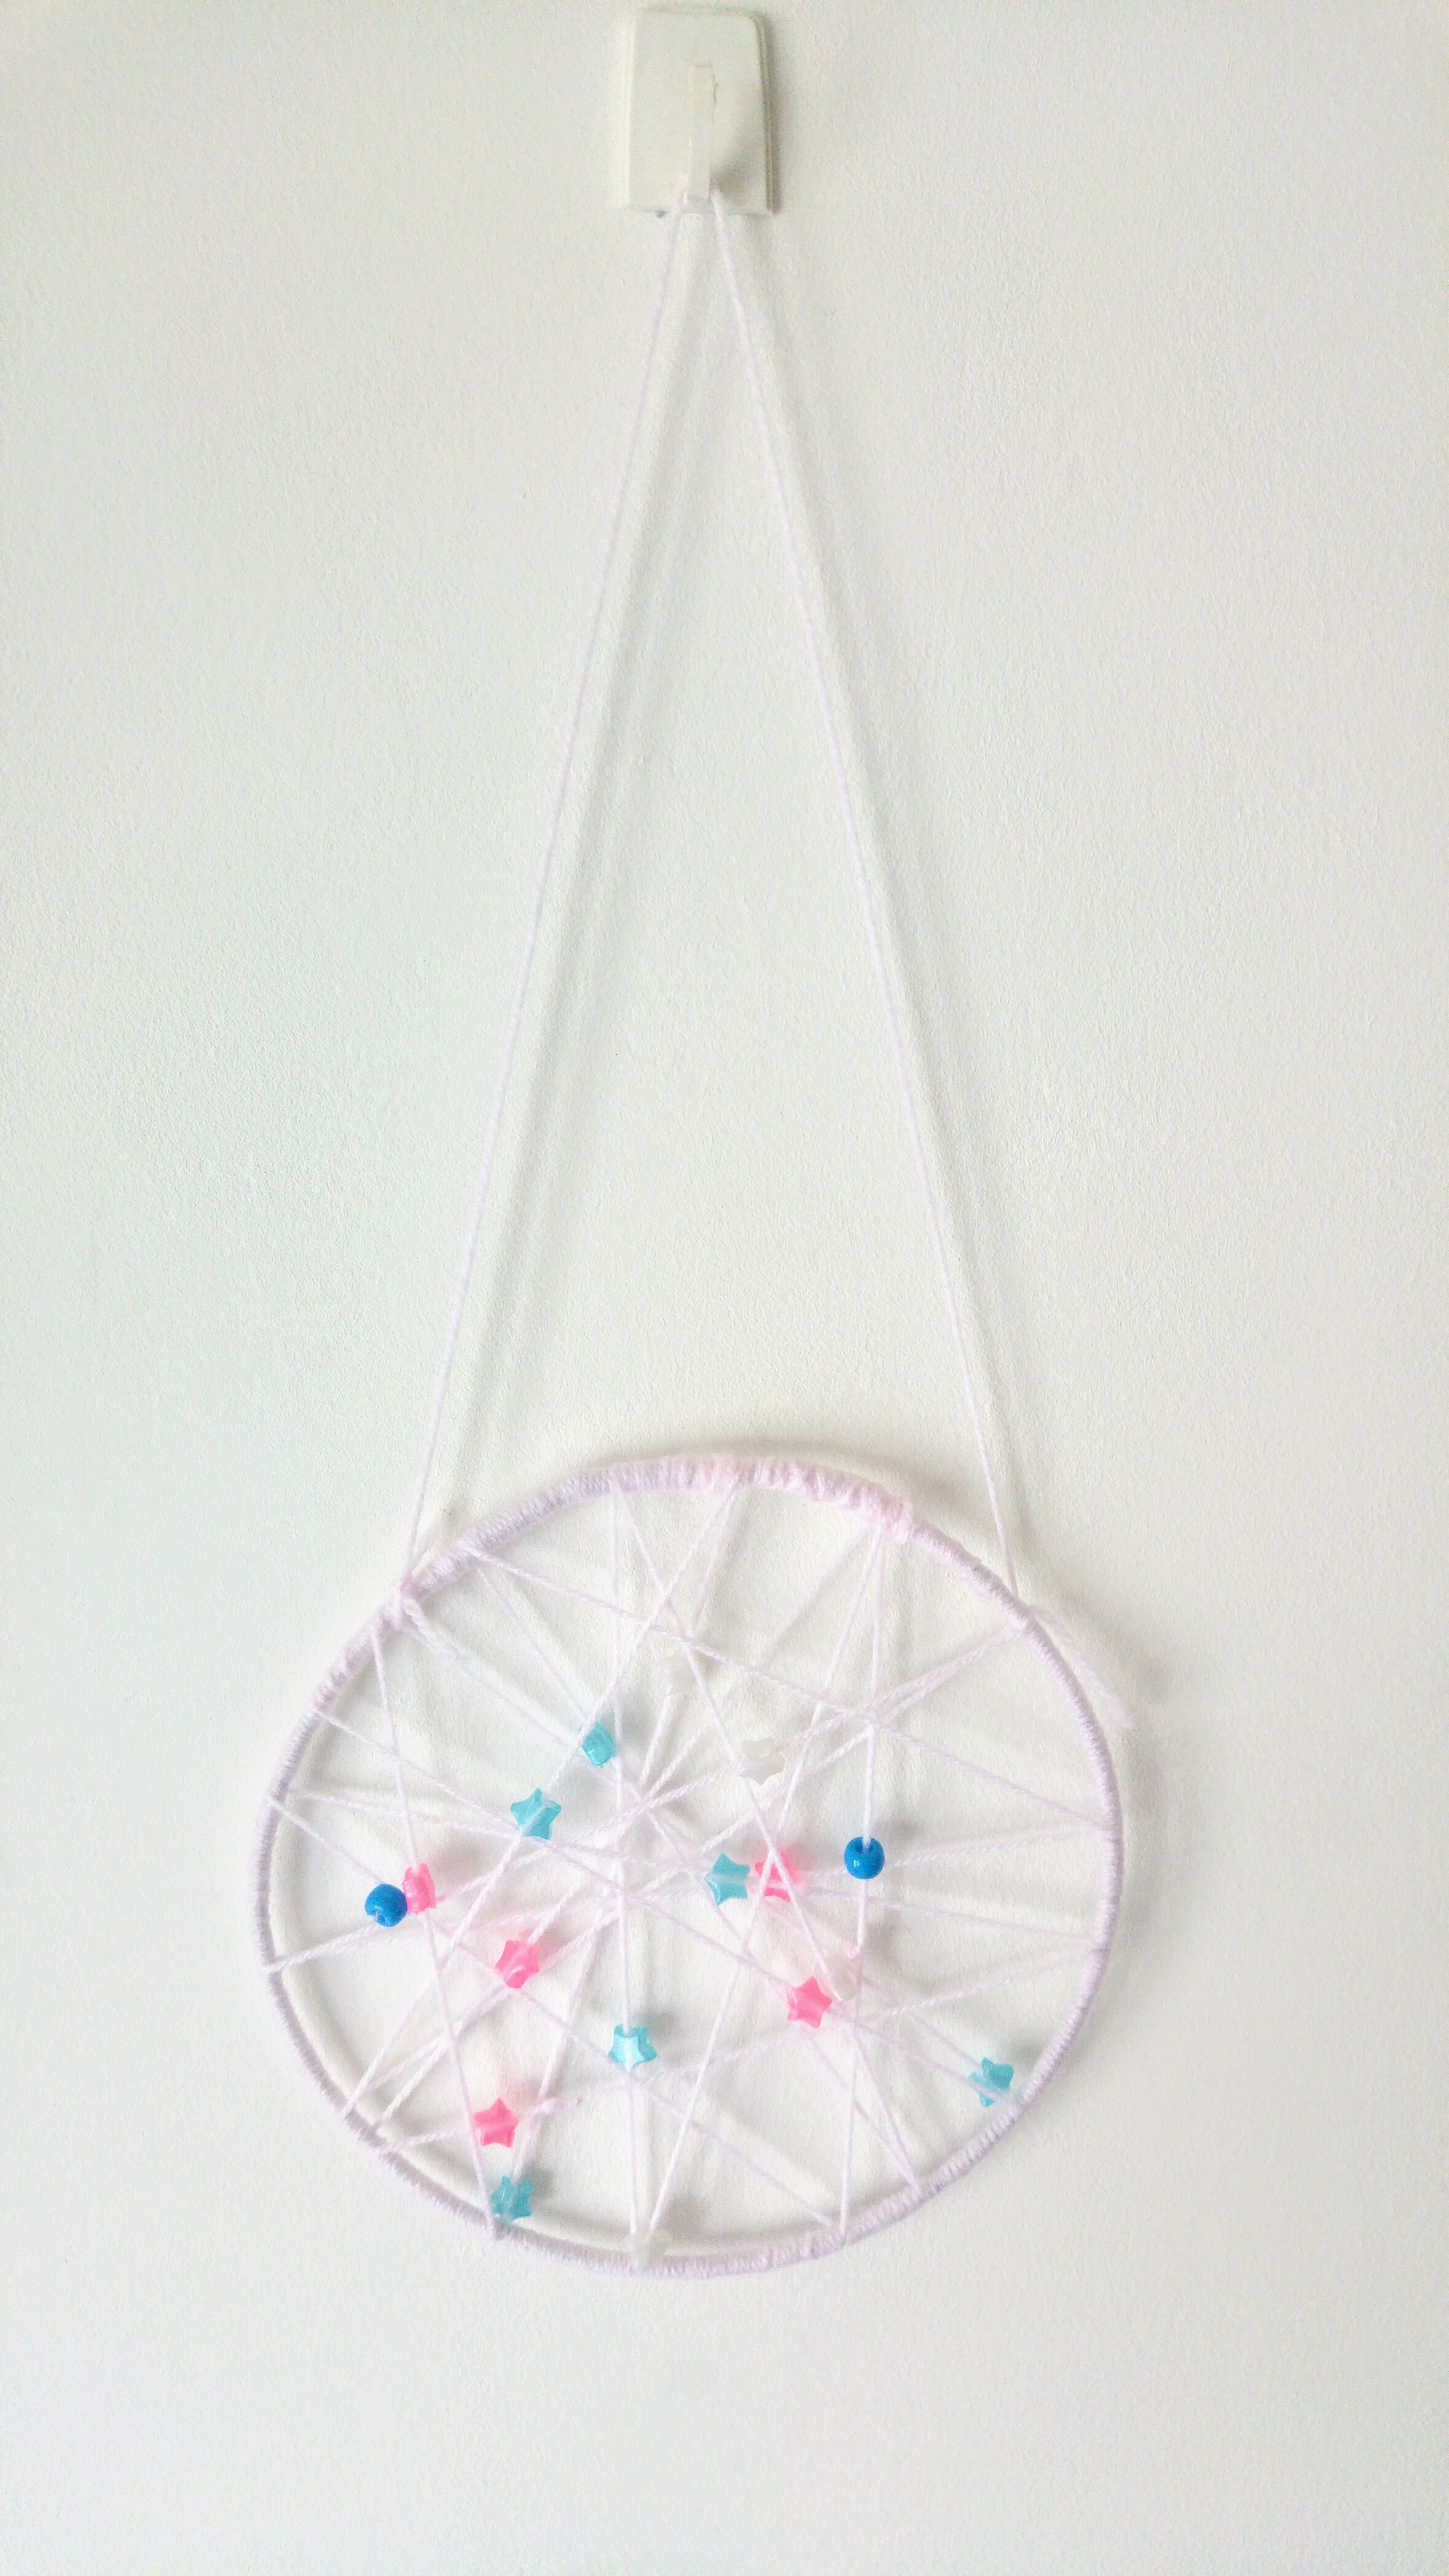
3. Once the hoop was covered we began threading beads onto the wool. For each bead we added we crossed the wool across the hoop to create a pattern. 

4. After the hoop was complete we tied a piece of wool to the dreamcatcher to hang it on.

Whilst wrapping the hoop can take a bit of time & patience there are ways around that. Using a painted cross-stitch hoop would work just as well.

The pattern can be as simple as Eva’s or as hectic as the one Izzy & I made together. Feathers or ribbons can be attached to the bottom of the Dreamcatchers to pretty them up too.

Whilst winding the wool around the hoop takes a little bit of time this is a fantastic activity for kids around 5+.

Younger kids

Izzy obviously had a fair bit of help with her dreamcatcher but threaded the beads herself. To keep her occupied whilst I wound wool around her hoop she practised threading beads onto wool making a cute little keyring for herself. I thought I’d mention this as it can be a struggle with kids of different ages & abilities to find something the little ones can do to feel involved.

Simple, cute & Izzy felt super proud of herself!

Both girls love their dreamcatchers & have them hanging over their beds.

Have you made a dreamcatcher before? Do you have any tips or different materials that could be used?

Our Weekend Box Fun

We were lucky enough to have the chance to review a brand new mini Weekend box this weekend. These mini weekend boxes contain 2 full themed activities and all the bits you need to complete them.

A weekend box is an awesome little box of crafts to do with your child over the weekend that arrives via 2nd class (Posted on a tuesday) which we recieved on friday morning. Each box is themed and we recieved the rainforest theme.

We love crafts and Eva was really impressed when I showed her what had arrived for her.

weekend box fun

Eva loved the colourful box and found it funny that it matched her special My little pony rainbox dress haha! I thought it looked really fun and loved how excited Eva was over it.

We couldn’t wait to open it up and see what was inside to keep us entertained over the weekend.

Eva really enjoyed reading about each of the character’s and seeing which characters were on the packets which she thought was really cool. We decided to spread everything out on the table and see what this weekend box was really about.

There were 2 activity packs as promised along with any card needed, some collectable cards and even some vouchers to hand out to our friends for a free box!

The 2 activities stated they were of medium difficulty and would take 40 minutes to complete. Awesome naptime activities for me and Eva to do across the weekend. One activity wasto make a parrot mask and the other to grow a rainforest!

Inside the box itself there is also a certificate for the child to colour in and write their name on and keep too!

download (3)

Eva couldn’t wait to get stuck in and decided to do the mask first. I helped her cut out the mask and attatch the beak using the glue supplied then Eva got busy following the instructions making ‘feathers’, ‘gems’ and then decorating it with the crayons.

Eva spent hours flapping around the flat wearing her mask so I know she really enjoyed it and having everythting we need to hand was really helpful.

Grow a rainforest was up next. I cut a bottle in half and Eva peeled the pellets that were supplies and we soaked them in water in the bottom half of the bottle.


We then had to make a hole in the bottle lid and thread the string through the lid then screwed it back on the bottle. We then had to transfer the soil into the lid half of the bottle, Eva sprinkled in the seeds and we popped the lid half into the bottom of the bottle which we had also filled with water making sure the string dipped into the water.

77c98d211ff341e39c596cc2e1af7c8f

We completed both tasks a little quicker than 40 minutes but it was really fun doing the activities. Eva really seemed to be enjoying herself and it was so nice to just pull out the box and get going with an activity. We have a ton of craft stuff but it can sometimes be difficult to find everything we need (mummy’s poor organizing!) so I can really see the appeal of these boxes!

When I asked Eva her opinion on the activities she said ‘It was all fun, I liked making the rainforest because it was messy and I liked making the parrot mask because it was fun making it colourful and drawing rainbow’s on it’.

Mini weekend boxes usually cost £4.95 however we recieved ours free in exchange for an honest review. If you’d like to try one yourself for free then use the promo code EMBER298 when you sign up at https://www.weekendboxclub.com Please Note Future boxes will be £4.95 for Mini Box and £7.50 for a Bumper box, but you can pause or cancel your boxes if you’re not completely satisfied at any time.