Granny Square Project

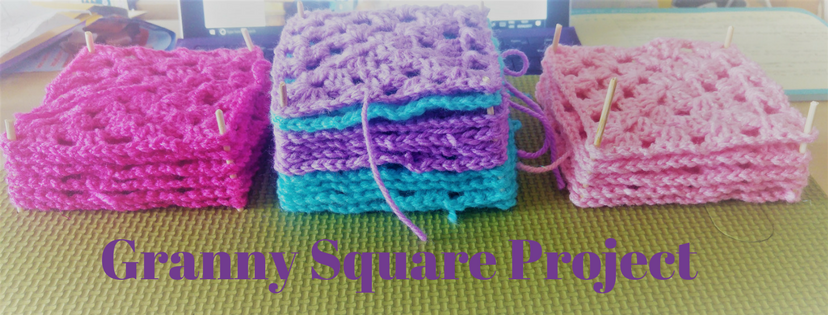
I’ve started on a Granny square project after losing my motivation for a little while. I got the Mr to help me make a cheap & simple blocking board to help me keep them neat and got to work. The last few crochet projects I’ve done have been quite big and I struggled to stay motivated so I needed something simple and easy to put down. Izzy picked these 3 colours to begin with.

Granny Squares

Of course I haven’t done any of the important things, working out measurements, how many square I will need etc. For now I’m just going to enjoy getting lost in making lots of small squares. Working on a project in pieces like this is much more doable when you have children interrupting. I can make a square in around 15 minutes with interruptions! The small piles above quickly began to grow!

I like the fact  I can take a ball of wool & a hook out in my bag again and work on the go too, maybe now my phone will stop dying before I get somewhere? Maybe not.. especially if I’m taking pictures as I work too. Either way I’m enjoying doing something, even though it’s for the girls it gives me a nice sense of achievement with each completed square. I even treated myself to a new hook to pop in my bag for crocheting on the go!

I’m quite liking the colours Izzy has chosen light sparkly pink, dark sparkly pink, turquoise and this lovely light purple Izzy picked up in QD. I’ve been working on these granny squares for just over a week now. So far I have build up a stash of over 20 squares in my spare time! My squares are a bit neater than before, I’m definitely getting the hand of crocheting a little tighter.

Hopefully it doesn’t take too long for my stacks to grow so I can begin stitching them together and working out how big to make it & find a nice edging for it too.

What are you working on at the moment? What Granny Square projects have you made?


My Sunday Photo – A Lovely New Crocheted Unicorn Friend

Izzy received her lovely new crocheted unicorn friend this week and I absolutely love how happy & smug she looks. After lots of arguing between the girls over Eva’s pink sparkly unicorn Izzy had to have her own!

She couldn’t be any happier with her stunning new friend Crocheted by the Lovely Mrs A/Tracey at Hooks & Dragons.

lovely new crocheted unicorn friend

I love this photo so much I had to share it as my Sunday photo even though I already shared it on Instagram! Both my girls now have their own unicorn in their favourite colours. Finally the arguing has stopped.. over unicorns at least…


Photalife

An Arty Day Out At The #LoveGrays Event

On Saturday the girls enjoyed an arty day out at the #LoveGrays event on in town. The Mr pointed the event out to me as he spotted it on facebook so I decided to drag the girls to town to see what was going on.

We only stayed for an hour or so as it was cold but the girls really enjoyed themselves!

#LoveGrays event

Eva headed straight to the stage where local’s performed across the day. She joined in with the dancing and Izzy followed but spent most of the time just staring at the stage or trying to be cute when the photographer’s were around.

We decided to go see what crafts were happening and the girls joined in drawing the things they love in grays. Izzy drew the ‘park & boats’ and a few other little pictures happily chatting away as she did. Eva drew her teachers & had hers put up on the display’s.

I actually loved the way the displays had been made with large reel’s stuck together and painted. They soon filled up with postcards by kids filled with pictures & writing about why they love Grays.

The girls then moved to another table where they got to pick a picture from a copy of local history books and stick it to a piece of card & draw/decorate/write on it however they wanted with Posca pens.

I was quite impressed with Eva coming up with the idea of outlining parts of hers.. I half expected her to just add hearts & flower’s everywhere haha! Eva loves these activities which are run by Metal  to get people involved in arts across Southend and south Essex.

Last summer we attended the Village Beach event too where Eva earned a certificate for designing & printing on a tote bag. She still has her bag & loved receiving her certificate last year too! We will definitely be keeping an eye out for any other upcoming events!

Do you have anything like this running in your area? Do you or your kids enjoy getting involved in events like this?

(Almost) Mess Free Painting To Occupy Toddlers

I’m sure there are plenty of mum’s out there wishing there was mess free painting to occupy toddlers. It can be stressful getting the paint’s out. Whilst I don’t mind the actual mess or painted hands, I dread washing Izzy’s hair most of the time, although she is getting better it can be hell if she doesn’t listen. It’s difficult enough struggling to reach over to do her hair without chasing her around the bath too!

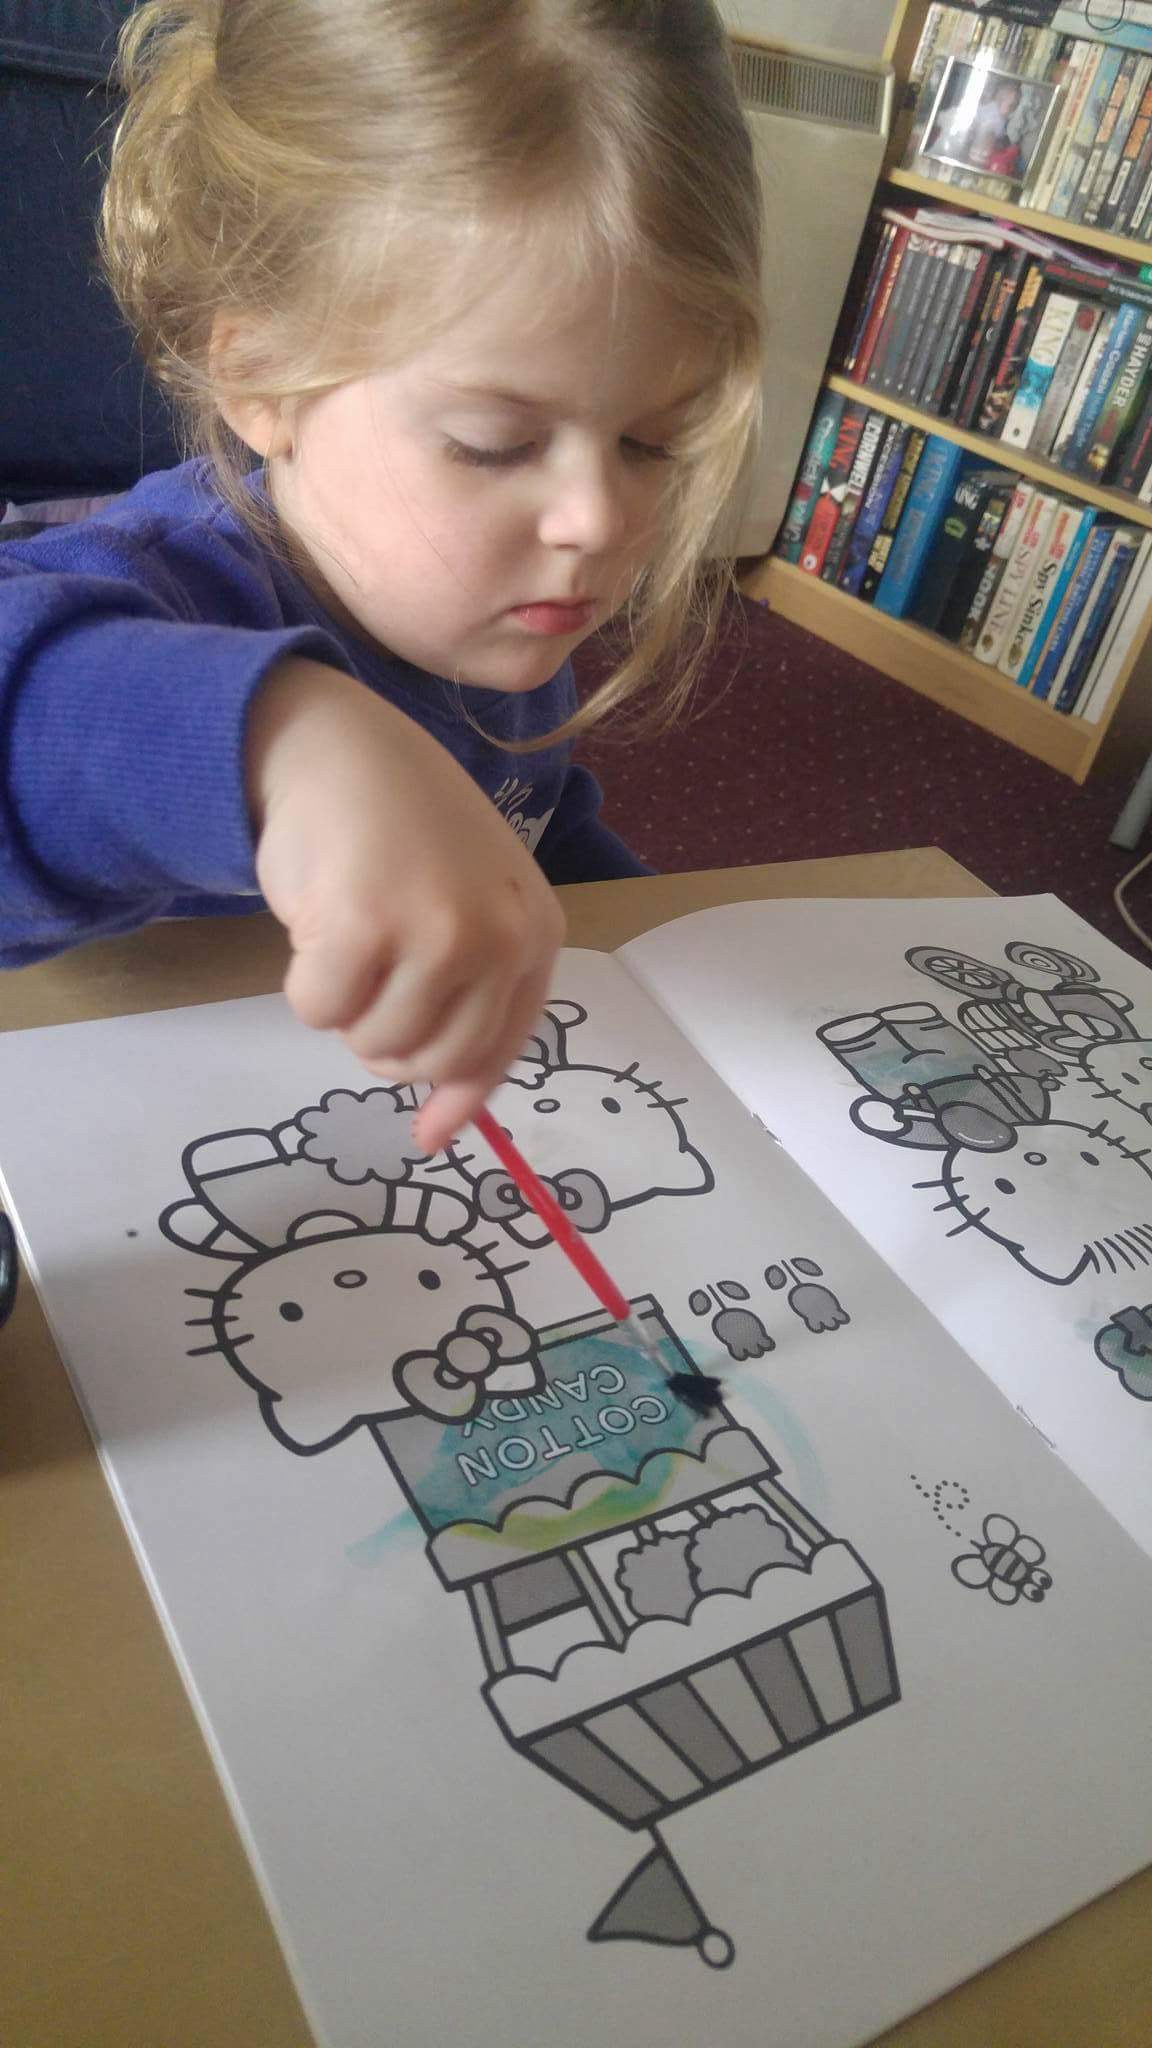
Izzy has been asking to paint over the last week and I’ve avoided it for that reason but today she came wandering in with a book I picked up quite a while a go and completely forgot about and asked to use it. The are ‘Magic’ Paint books, painting fun with none of the mess!

Mess free painting

These magic painting books are absolutely amazing, I can’t believe I forgot they even existed! I’m sure a few other parents have too so I figured I’d remind or introduce my readers to them so their toddlers can do some painting which is stress-free for mums and dads.

Having had a look through my stack of craft books, magazines, print-outs (I really must get a new printer!) I discovered we had a few different ones I’ve picked up. The dinosaur and farm animals ones we picked up from Wilko.

(almost) mess free painting

Keeping toddlers occupied

I’m so pleased we found these as Izzy absolutely loves painting and it’s kept her happy with the only possible mess being water and a tiny bit of the colour. It was easily cleaned off with a wet wipe, which Izzy also discovered can be used to ‘paint’ with haha! I even had the time to write this post in between chatting with Izzy and topping up her water pot.

Izzy loves discovering each colour and it’s really helping her fine motor skills. She tries so hard to keep it in the lines and rinses her brush each time. It’s a great little cheat that works for both of us although admittedly she did still get a little colour on her face.

I’ll definitely be getting these out a lot more and buying more. Eva came home from school and joined in too! It was lovely to see them both absorbed in an activity. I have been slacking majorly lately not just on the blog but with doing things with the girls too so simple activities like this are great! It got us chatting about colours & different shapes, Izzy loved naming everything in the picture too!


What do you think? Have you used these before?
Cbeebies Magazine – Learning & Colouring Fun Together 

Cbeebies magazineIzzy loves Cbeebies and was ecstatic to receive a copy of the magazine for us to take a look at together. We received the big colouring pack edition which was an added bonus for Izzy as she absolutely loves colouring!

She was really excited about having her own special crayons, pens & felt tips and couldn’t wait to get them off and open the magazine. Of course she was more than happy to pose and show off her magazine first.

Izzy concentrating


Izzy flicked through the pages and was so happy to see almost every page had something to colour in! She went back to the first page to colour Bing a present.

Bing is her FAVOURITE character on Cbeebies and she loves flop too so she tried so hard to stay in the lines.. Not too bad for a 2 year old! We were both really pleased with her efforts and there was plenty of praise for her.


Concentrating


Of course we then had to colour in the big Bing picture too. Izzy decided Mummy had to join in aswell.. Although as always she had to be a little bit awkward so this time she was wayyyy over the lines but we had fun. Check us out concentrating really hard on our colouring!


Bing

Gingerbread Man


Next we moved on to some of the activities like this Topsy and Tim one. Although she can’t quite write yet Iread Izzy the questions. She was really pleased to get them right and add the relevant stickers too.

The activities throughout the magazine were really fun and even at Izzy’s age the activities are doable with a little extra help. This magazine is brilliant for improving fine motor skills with colouring and sticking amongst other things.


There’s a brilliant Peter Rabbit workbook in the middle which Izzy decided to colour in but would have been great for a slightly older child. I do enjoy buying magazines Izzy will actually enjoy with lots of activities too so I’ll definitely buy it in future for her. Izzy absolutely loved The Furchester Hotel activity though. Finding Isabel and decorating the Christmas tree with stickers. It’s always lovely to see a toddler having fun and concentrating at the same time!

The Furchester Hotel

The Cbeebies magazine gave me and Izzy something to sit down and do together during a very hectic month. I have to say it’s been a great distraction for both of us. Magazines are usually a rare treat as generally they don’t have much in them. The girls are usually bored in minutes in all honesty. However Izzy has spent a few days colouring in some more and getting Eva to read the stories to her. I’ll be buying the next issue for to keep us busy on days Eva is at school.

You can buy a Cbeebies Magazine too in your local newsagents & supermarkets.

*I received this item in return for my honest review.

Ladybird Activity- Kitty In Boots Snow Globe

We’ve made an awesome Kitty in Boots Snow Globe using the Ladybird Activity site!

ladyb-ird

We had fun making a Kitty In boots Snow globe It’s quite simple to do and doesn’t take long at all! We made sure we had everything needed on the list to make our snow globe and printed out the activity sheet so we could cut out Kitty in Boots to put inside our snow globe.

Although we didn’t have any jam jars so we cheated and bought these Kilner Jars for £1 each. I bought 2 as Izzy wanted to make a snow globe too (then wandered off halfway through – toddler life). We also bought some water-resistant glue, Glycerine and had plenty of glitter at home.

Eva cut out and stuck Kitty in boots to the card to make Kitty In boots strong enough to stand up in the globe and used book covering to waterproof him as we don’t have a laminator.

We glued him down on the lid and Eva held it down to dry whilst I filled the jar with water & poured in 2 spoons of glycerine and let Eva add the glitter.

Once we had filled up the jar we used plenty of super glue around the edge of the jar and lid. Eva screwed the lid as tight as she could and we left it to dry then tested it out! Eva was so impressed she had made her first snow globe. She started coming up with plenty more idea’s we could try too.

Kitty In Boots Snowglobe
Maybe slightly too much glitter! We can’t wait to make more though

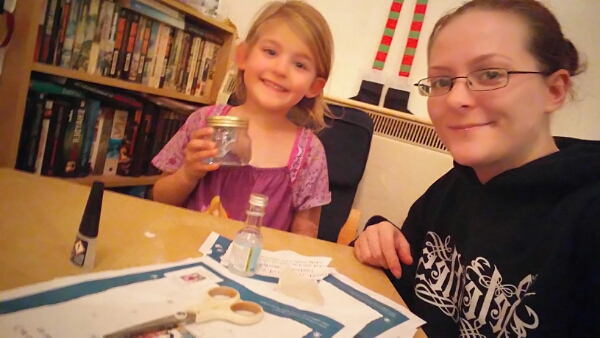
Eva though this activity was really fun especially as it involved glitter! We had to take a selfie with her globe too..

wp-image-1454090546jpg.jpg

Have you tried any of the Ladybird Activities yet? Will you try one too? We really enjoyed this activity, it only took around 20 minutes to complete. We will definitely be trying some more out.

* Please note this is a sponsored post. We did really love the activity though!

Relentless Accident & Eva’s New Scarf

I had a Relentless accident last week.

Knocking a full can of relentless all over my wool (new & used) and all over my latest WIP’s.

I felt devastated and angry, upset and annoyed with myself. I had ruined Eva’s scarf and all the wools Izzy had chosen for her blanket..

Some of you may have seen a little bit of my melt down on Twitter. I was having one of those moments when you turn into a child again screaming & crying and blaming myself for being so stupid for having a relentless accident, not only did I lose my WIP’s & wool but an entire can (minus one sip) too!

Luckily the lovely Tracey from Hooks & Dragon kept me chatting, giving me tips when I was thinking about washing and drying it all & helping me calm back down. I went from a screaming crying mess to just a sad one!

Eventually between my meltdowns and stomping around to try and find a way to fix it all the Mr suggested I just replace all the wool instead of trying to clean it. To anyone else they would have just said yes but me? I went off again about how I couldn’t do that because it costs MONEY! You know, the thing I seriously HATE spending. especially if it’s on stuff for me.

Eventually I gave in.. after all it’s technically for the girls not me since I’m making thing’s for them!


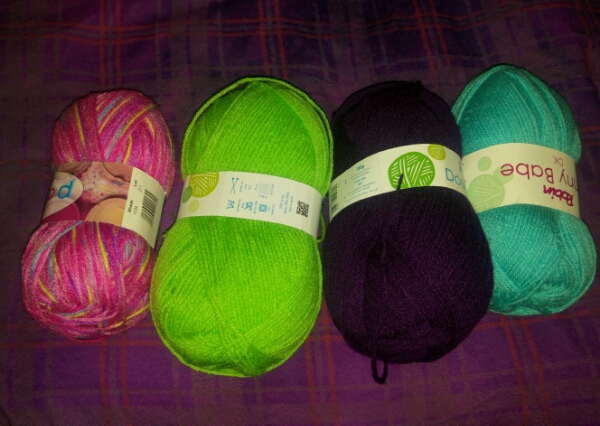
A few days later I finally managed to get out and buy a few new balls of wool.. I only picked up four colours as I figured I can pick up one or 2 more each week until I build my stash back up again.

A relentless accident means new wool

One of the balls was a replacement for Eva’s scarf. A pastel, mostly pink multicoloured wool from the QD Paintbox range. I love how it works up and can’t wait to get it finished!

Eva's Scarf

What do you think so far? I’m considering adding something on.. Maybe a flower? Any (easy) suggestions?? 

Baking Fun Using My Cupcake Toppers

The girls had some baking fun yesterday making cakes after I was given a £15 off code to try out some of the Toppers from MyCupcakeToppers in exchange for a review of them.


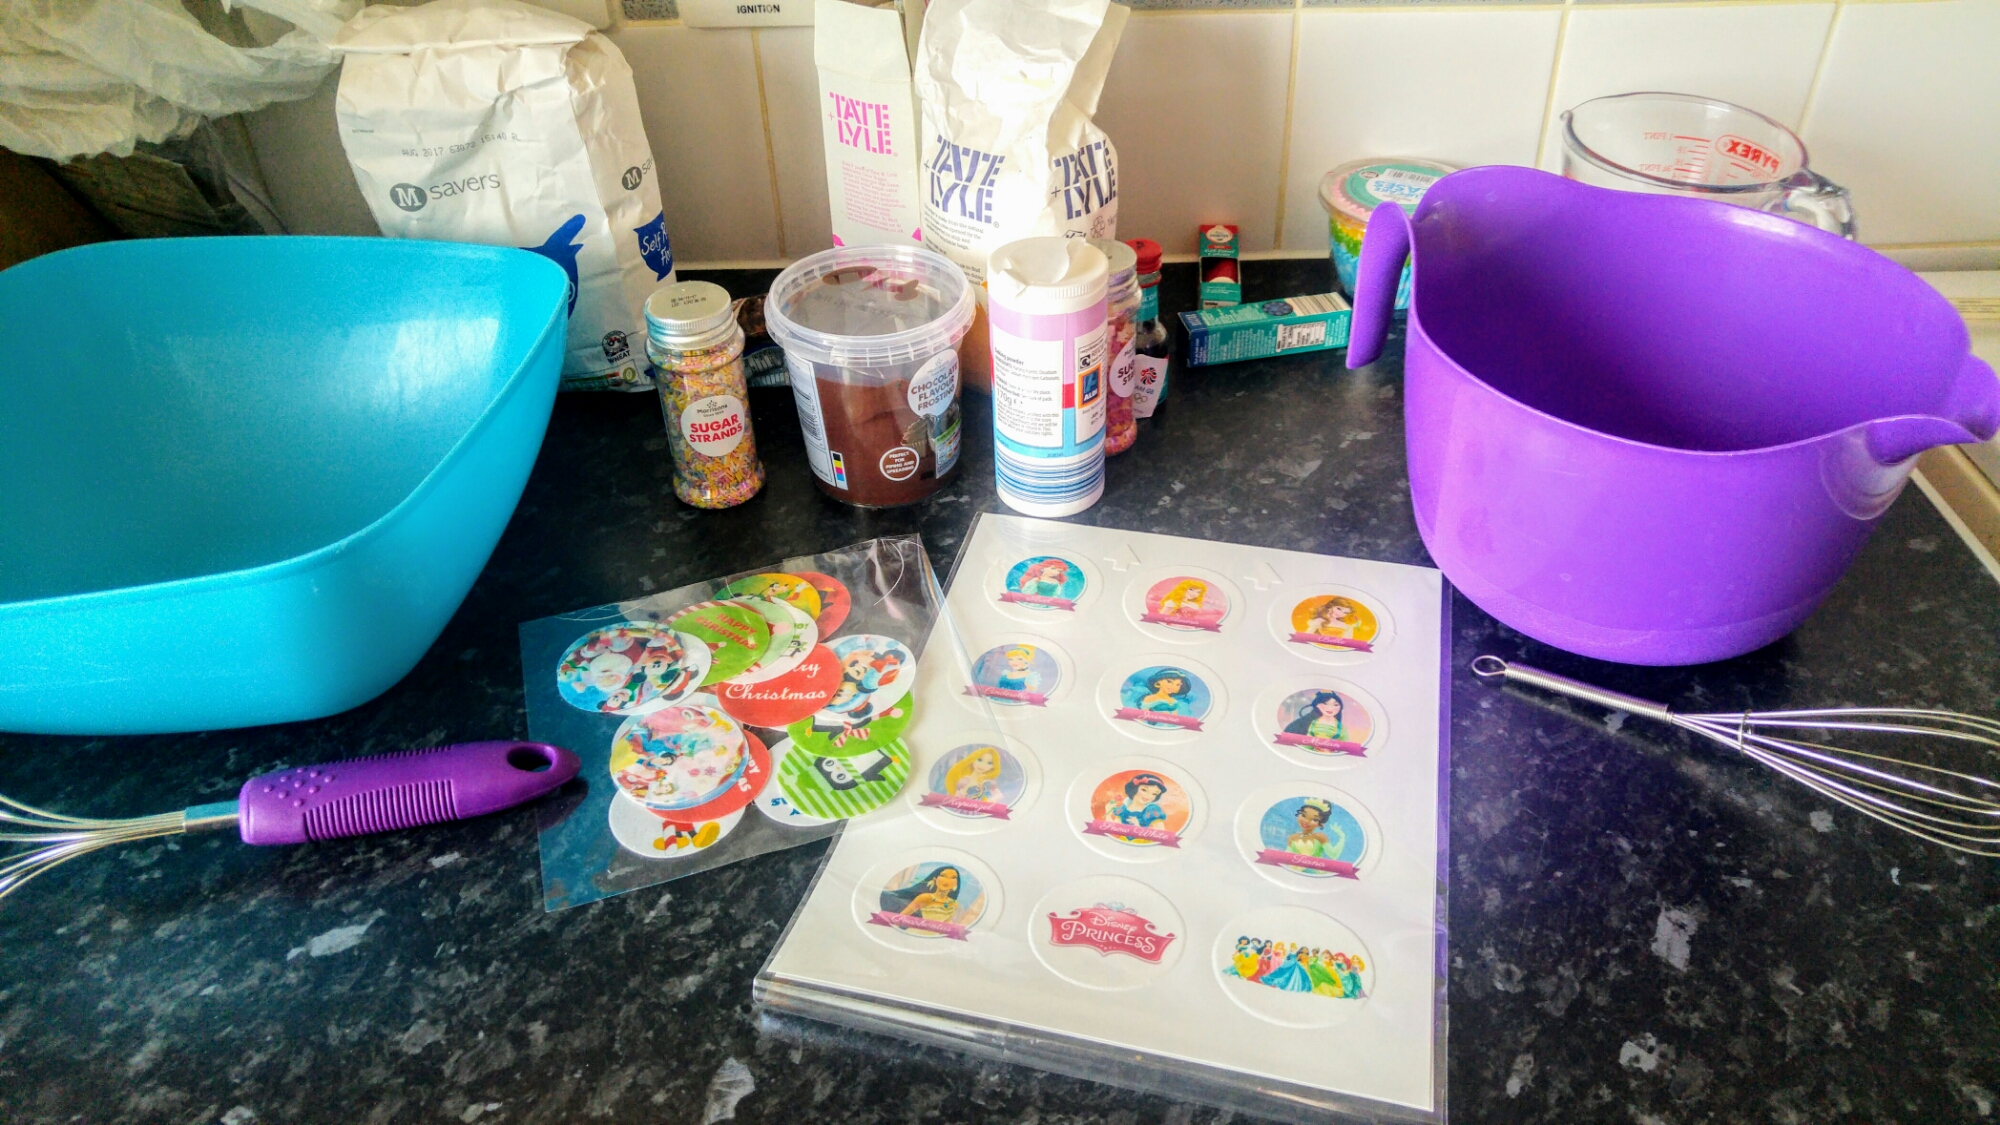
After looking through MyCupcakeToppers site I picked out some lovely Minnie Mouse & Disney Prince Real Icing toppers (12 for £6) that I knew the girls would love.


For our Minnie Mouse & Disney Princess cakes the girls made a mix for 12 chocolate chip cakes each. They quickly got their mixes made up, poured into the cases and into the oven.. so they could lick the bowls of course!

We loved the cakes and all helped ourselves to a few since we made 24 in total. The real icing cupcake toppers were amazingly yummy, even the Mr who isn’t keen on cake toppers really enjoyed it and munched through quite a few cakes!

The real icing toppers are absolutely brilliant and the printing is amazingly clear, they make the girls messy (but tasty) cakes look lovely.

I will definitely be ordering again in future for special occasions. I love how many design choices were available on the site. If you can’t find a design you like you can upload your own images or fill out a form with details of what you would like and the in-house design team can see what they can do for you too!

Want to make some too? Check out our recipe below.

You will need:

110g(ish) Caster Sugar

110g(ish) Butter

2 eggs

110g(ish) Self-raising flour

1tsp(ish) Vanilla extract/flavouring 

2ish handfuls of milk chocolate chips (plus a few to ‘test’)

1 tub of chocolate frosting 

A pot of sprinkles you completely forget to add

Method:

1. Preheat oven 180°c. Cream butter and sugar and add vanilla extract. Beat in 2 eggs.

2. Fold in the flour & throw in the chocolate chips.

3. Fill 12 cases halfway and bake for 10ish minutes until brown.

4. Let cakes cool (and sit on your hands to stop yourself eating them warm) before adding the frosting.

5. Pop the Real Icing sheets in the oven (once it’s cooled/cooling so it’s just warm) until the icing is easily removed from the sheets.

6. Add toppers to your cakes and ENJOY!

What do you think of our recipe will you be trying it out or do you have one of your own we could try? 

How lovely are the cupcake toppers? What design would you go for? 


Eva’s Blanket Is Finally Finished (For Now) 

You may have seen me crocheting Eva’s Blanket if you’ve been following my blog  or especially my Instagram. I’ve been crocheting a colourful granny square blanket, letting Eva choose each colour/shade as I go. I’ve been working on it for quite some time now doing a few stitches most evenings, even taking it on the bus with me to work on!

The finished product –

Eva's blanket - finished

We ended up adding 16 different colours/shades to Eva’s blanket and she is absolutely over the moon for it to finally be finished (for now) and able to use it around the flat and on her bed.  Last year I knitted Izzy a soft fluffy blanket but it took quite a bit of time and hurt my hands although I did enjoy it. Crochet seem’s much easier, faster and calming to be honest.

I had one very happy girl last night, Eva settled pretty quickly snuggled up under her blanket and when she woke up this morning it was the first thing she grabbed to bring through to the living room where she snuggled up on the sofa until breakfast!

Eva's blanket - in bed
Sneaky photo of Eva snuggled up falling asleep

I’m feeling quite pleased with myself to be honest. It’s such a lovely feeling finally completing such a big project and seeing Eva so happy with the result! Eva wants me to continue adding on to it as she grows so I haven’t added a border.. yet!

I’ve already started on my next project too! A colourful scarf for Eva using the same wool she asked me to finish her blanket with. I tried knitting the scarf but was unhappy with how it looked. Instead I’ve gone back to my trusty hook and crocheting her a scarf!


Have you finished a project lately or are you currently in the middle of one? If you love crafting don’t forget to link up with #CraftingIsMyTherapy too.

Me You and Magoo


Purpling My World With Dylon Dyes – Part 1: Sack The Lego Supervisor

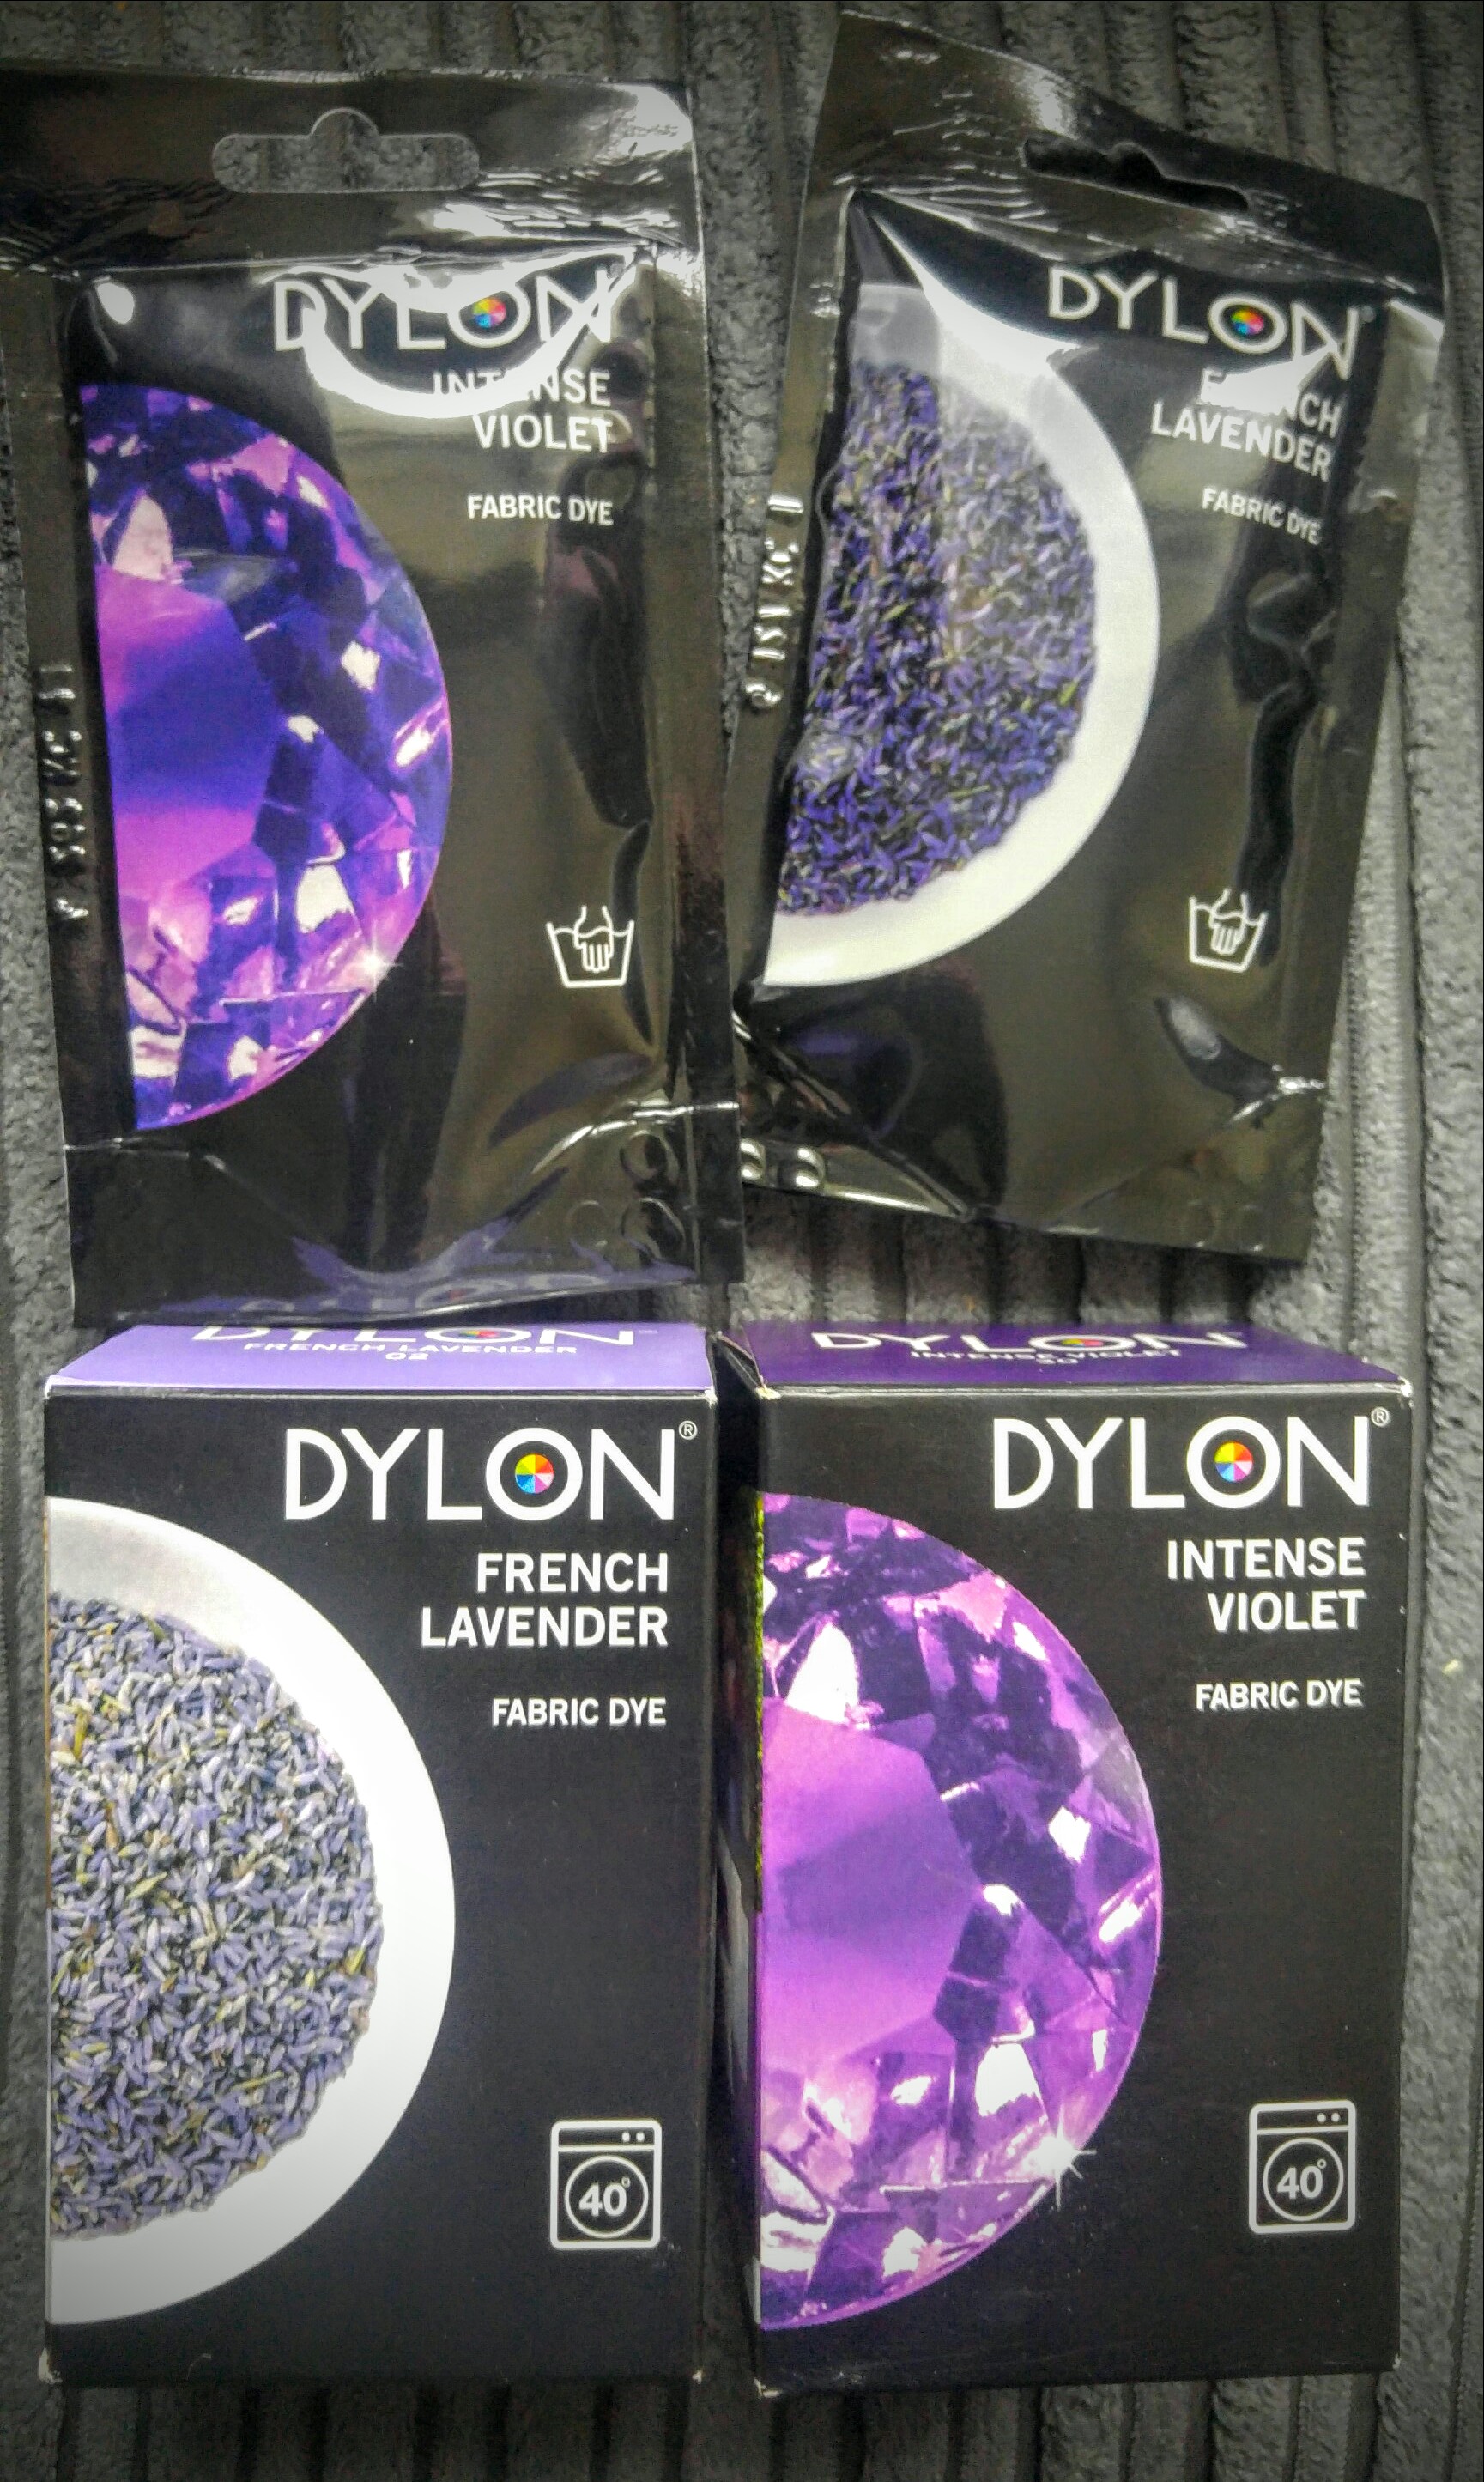
I’m not really sure if many of you know this but I have a teeny tiny obsession with the colour Purple.. I know, I know, I hide it well! The problem is not EVERYTHING  is in purple.. yet! So when I got my hands on some gorgeous Dylon Fabric Dyes in Intense Violet in exchange for an honest review I couldn’t wait to get started on purpling my world… I mean at look at them!

I LOVE the Intense Violet and just knew I had to dye the bedding we recently bought that I wasn’t keen on being white..

 Bedding before

Lego Supervisor - failingI was so eager to get going and purple thing’s that even under the watchful eye of the Lego Supervisor and Izzy I managed to make the ULTIMATE mistake. I DIDN’T quite read the instructions properly.. until the washing machine was on of course (I know, I know the Lego Supervisor is totally getting the sack for slacking!). So here’s a head’s up, when using Dylon dyes ALWAYS read the instructions fully to get the perfect result (One box covers a DOUBLE not king-size duvet cover!)


Of course having too much material in the machines & not enough dye doesn’t result in an even covering so instead I had this pretty awesome (but not for this project) tie-dye effect that I had to fix sharpish before my brother ran out to buy a King-size duvet and stole it from me!

Ooops

After admitting my mistake I was sent out another 2 boxes of the Intense Violet machine dye to see if I could put things right again. This time I made sure I had definitely read the instructions before pouring the dyes & 500g of salt into the washing machine drum under the Mr’s supervision this time.. He had to be better than Izzy and the Lego supervisor.. Right?


This time I was happy with the result! My camera seriously doesn’t do it justice it is AMAZING in person and I cant wait to see it on my bed and purple my boring bedroom some more!

Purpling my world
Hanging to dry.. Now doesn’t that look better!?

Dylon fabric dyes are definitely an amazing way to colour your world your way.. Providing you read the instructions 😉

I still have the French Lavender dyes to use next so keep an eye out for part 2! Fingers crossed this time it all goes right the first time as these dyes are absolutely amazing when you read the instructions properly 😉 haha!

In the meantime don’t forget to check out Dylon’s Instagram & Twitter page aswell as their website to see other colours available! 

Have you used Dylon dyes? What’s your favourite colour & best success? Let me know in the comments 😊

Also I just noticed that this is my 100th blog post!! And it’s a purple one!! Yay!!